Welcome to the Into Indie Games walkthrough for Ruffy and the Riverside.
For more information on Ruffy and the Riverside beyond this walkthrough, check out the official website here.
Buried City 3
Upon receiving the location of the third letter, head out of the Basilica and make your way to the Rather Noble Tower in the Forest, where you had acquired one of the Hands of Hope.
The path that was formerly blocked is now open, so head on in.

To find the way to the Buried City, follow the waterfall until it forks and take the path that goes downwards from there.
The path hugs the cliff down to a cave blocked by stone blocks. Simply copy wood from the tree nearby and paste it on the blocks, then break them down.

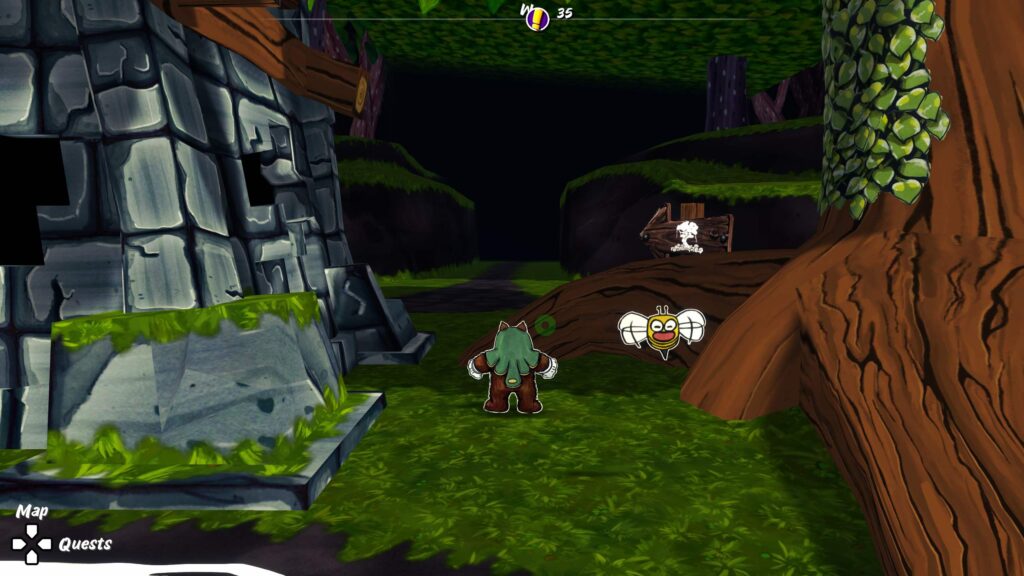
Enter the Buried City on the other side of the blocks.
This time, we have two blocks to work with (one is on the other side of the machine).
Begin by copying the circle symbol and pasting it on a red block, so that we create a bridge.
Then, copy the triangle symbol and paste it on the other red block, to push the ball forward.

Now we need to push the ball up and then to the left. To do this, copy the slash symbol (below the ball) and paste it on any of the red blocks you previously extruded.
Repeat this for the other block, so that the ball is raised up to the level of the square symbol.
Now copy the square symbol and paste it on the lowermost block. This will push the ball into the socket.

Exit the Buried City the same way you came.
To the Wondrous Woods
Now head back up, grab a bale, and ride it onto the rail to get to the other side of the chasm.
Here you’ll find two geysers with wooden blocks on them, and a stone raft that should serve as an elevator. We simply need to swap the materials here, so copy stone and paste it on the wooden blocks, and copy wood and paste it on the elevator raft.


Hop on the elevator now and ride it up, then jump up to the upper cliff.
Pass through the hollow tree trunk to get to the next area.
The Wondrous Woods
Here, you’ll enter a maze where you need to observe the surroundings and go through the right tunnel. Each of the tunnels is marked by a card suit. The actual clues change for ever step of the maze. If you’d like to figure out the suits yourself, here’s a guide on what to look for:
- Step 1: Giant stone symbol on the ground
- Step 2: Stone symbol on the ground obscured by tall grass
- Step 3: Carving on tree, opposite side from where you entered
- Step 4: The most abundant type of stone symbol on the ground
- Step 5: Stone symbol underneath one of the stone blocks (break the blocks by making them wood first)
- Step 6: The shape created by the kissing swans
- Step 7: The broken stone symbol in the middle of the water
- Step 8: The only suit that can be found in all three slots (jump on the arrows to rotate the slots)
- Step 9: The only suit that has the correct colour + suit combination
- Step 10: The only suit that can be “completed” by mentally joining the two halves (hit the card holders to go through the half-cards)

And here’s the solution, if you prefer that:
- Step 1: Spade
- Step 2: Club
- Step 3: Diamond
- Step 4: Club
- Step 5: Spade
- Step 6: Heart
- Step 7: Spade
- Step 8: Spade
- Step 9: Heart
- Step 10: Spade
For the final step of the Wondrous Woods, you’ll find two repeatedly shuffling card holders. The hint you have is two hearts. Therefore, you need to copy one heart card, wait for another heart card to show up in the shuffles, and paste your heart card on the slot next to the shuffled heart card.

Pass through the opened tunnel to get to the Tree of Life.
Get to the lookout point and jump off, using your Bee Jump to get to the patch of land under the ivy.
Climb the ivy and enter the hollow of the tree, and here, talk to Mayle the elderly Etoi.

The Spring and the Obelisk
Climb up the newly-appeared ivy and hit the green leaf boat.
When you get stuck at a tree, copy the ‘down’ symbol next to the stone pillar and paste it on the pillar. This will bring the stone pillar down.
Jump onto the stone pillar and copy the ‘up’ symbol on the wall, then paste it on the panel in front of you.


Hop across the islands to reach the ‘colored’ dome at the very end, where you’ll find Mayle again. After conversing with them, copy the image on the stone block on the ground and paste it on the obelisk.

The Apple Grove
Head to the Apple Grove, which was shown to you in the cutscene.

Our goal here is to transform the smaller apple trees to match the color and symbol of the big apple tree.
First copy the green leaves of the big apple tree and paste them on all three smaller trees.
Copy the red of the apples from the big tree and paste them on all nine smaller apples.
Finally, copy the symbol from the stone block and paste it on all three smaller trees’ trunks.


Once the trees are in harmony, return to the Obelisk of Growth and paste the new image onto the free space on the obelisk.
The Ice Grotto
At the Ice Grotto, our goal is to trap three variously-colored buoys in the channels. However, the buoy must be the right color for its channel.
Observe the strips around the channels to find out which color buoy you need to freeze in it.
Start with the middle channel – copy ice, wait for a blue buoy to show up, and freeze the channel when the buoy has lit up.

To unfreeze the other two channels, simply copy water from the bottom and paste it on the frozen part of the channels.
Once you’ve frozen all three channels with their respective buoys, return to the Obelisk and paste the final symbol on the free spot.

The Tree of Life
Make your way back to the lookout point overlooking the new Tree of Life. Jump off and use your Bee Jump to be carried all the way to the tree.
After the cutscene, climb up the ivy. Follow the path with the helpfully-provided arrows to get to the top of the tree.


Then, once you’ve acquired the third letter, hop into the portal to be returned to Riverside.
As usual, make your way to the Basilica to deliver the letter and find out your next destination.
Head to the next part of our walkthrough of Ruffy and the Riverside here! (Coming soon!)
Thank you for reading this walkthrough for Ruffy and the Riverside! For more interesting articles on all things indie games, be sure to check out the links below.